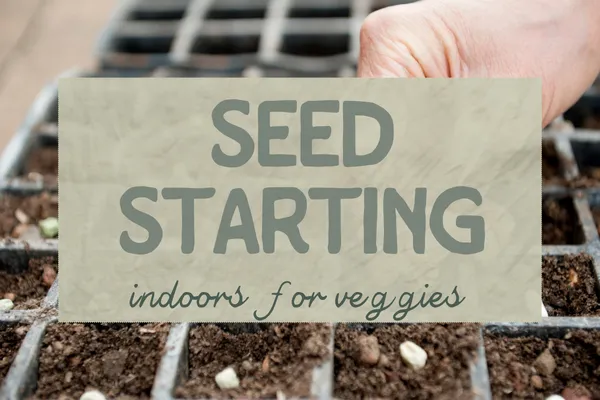
Sow Seeds of Success: Indoor Seed Starting Guide
The snow still clung stubbornly to the garden beds outside, but I couldn’t wait any longer.
I was freshly moved here from Oregon and it's longer more forgiving growing season, and I was ready to start growing, even if it meant figuring out how to turn a windowsill into a tiny veggie nursery. With seed packets spread across the kitchen table, 'Where do I even start?' Sound familiar?
For many mountain gardeners, February and March bring a mix of excitement and uncertainty. While your social media feed fills with lush gardens, your own yard is likely still blanketed in snow. But here’s the good news: you don’t need to wait for spring to start growing. Indoor seed starting is your chance to sow the first seeds of success for your garden, even when the ground is frozen.

Key Takeaways
Build a functional indoor growing station with seed trays, lights, and fans.
Start seeds at the right time for your region.
Focus on beginner-friendly veggies for early success.
Learn through experience and workshops to perfect your process.

The Setup: Building Your Indoor Growing Station
Every successful seed-starting journey begins with the right setup. Think of it as creating a little plant spa: warm, well-lit, and perfectly arranged to help your seedlings thrive. Here’s what you’ll need:
Essentials for Your Setup:
Seed Trays: Reusable trays with good drainage are a must to prevent soggy roots. These can be repurposed takeout containers. I like a draining tray placed inside a solid tray so that both my plant roots and shelves stay happy.
Organic Seed Starting Soil: Light, fluffy soil provides the perfect environment for germination. My preference is a nutrient-rich mixture that will provide plenty of food for growing plants. If you choose a sterile seed mix, you'll need to feed your plants.
Grow Lights: Adjustable grow lights are your best bet. Keep them about 2 inches above your seedlings. I use cheap LED shop lights rather than fancy grow lights, and they work great.
Heat Mats: These ensure the soil stays warm, which speeds up germination for veggies like tomatoes and peppers. However, not all plants like them—avoid using them for cabbage, kale, or broccoli.
Small Fan: A gentle fan mimics outdoor breezes, strengthening seedling stems and preventing mold.
Pro Tip: Avoid windowsills unless they get consistent, strong light. For limited space, consider vertical shelves.

Timing is Everything: Crafting Your Seed Starting Schedule
When it comes to seed starting, timing can make or break your success. Plant too early, and your seedlings may outgrow their trays before the frost subsides. Plant too late, and you’ll miss out on those precious early harvests.
How to Calculate Your Start Dates:
Use this simple formula:
Transplant Date – Seedling Age – Germination Time = Start Date
For example:
Tomatoes: Transplant 2 weeks after the last average frost. Seedlings need about 6-8 weeks of growth, and germination takes 7 days. Start indoors 6 weeks before your last frost date.
Frost-Hardy Greens (like spinach): These can go out earlier, so start them indoors 4–6 weeks before transplanting.
Beginner-Friendly Veggies to Start Indoors:
Kale and Spinach: Frost-hardy and forgiving.
Lettuce: Perfect for quick, continuous harvests.
Stagger Plantings for Continuous Harvests:
Instead of starting all your seeds at once, stagger plantings every 2 weeks. This ensures a steady supply of veggies throughout the growing season.


Nurturing Your Seedlings: Sprouting Success
Once your seeds have sprouted, the real work begins: keeping them healthy and happy. Here’s how to nurture those tiny greens into strong, transplant-ready plants.
Caring for Seedlings:
Water Wisely: Keep the soil moist but not soggy. Water from the bottom to avoid disturbing delicate roots.
Provide Plenty of Light: Seedlings need 12–16 hours of light per day. Adjust your grow lights as they grow, keeping them 2 inches above the plants.
Thin with Care: Once seedlings have their first true leaves, thin weaker ones to give the strongest plants room to thrive.
Troubleshooting Common Issues:
Damping Off: Prevent it by avoiding overwatering and ensuring good air circulation.
Leggy Seedlings: Usually caused by insufficient light. Move lights closer or increase light exposure.
Yellow Leaves: Could indicate overwatering or nutrient deficiencies. Adjust your care routine accordingly.

A great seed starting setup is the foundation of a successful gardening season. By investing in reusable tools, optimizing your environment, and choosing the right seeds, you can avoid common pitfalls and grow healthy seedlings with confidence.
Ready to get started? Explore our curated seed collection [here] and join us at one of our workshops to learn even more.
Happy gardening and here's to your best growing season yet!


970-471-7568
Copyright 2023-2026 Wiggle Worm Gardens
Visit Our Sister companies
Fourth Street Farm: edible landscaping and raised bed garden design and installation
Ground Up: Soil health and compost tea

